Integrate TestingBot with Ranorex
Ranorex is a GUI test framework, designed to execute tests. Using Ranorex Studio, you can easily manage and record tests, in your local browser. Without writing any code, you can create advanced Selenium WebDriver test cases.
This guide will help you in setting up a connection between Ranorex Studio and TestingBot, allowing you to run tests created with Ranorex on TestingBot's remote browser grid.
Getting started with Ranorex
-
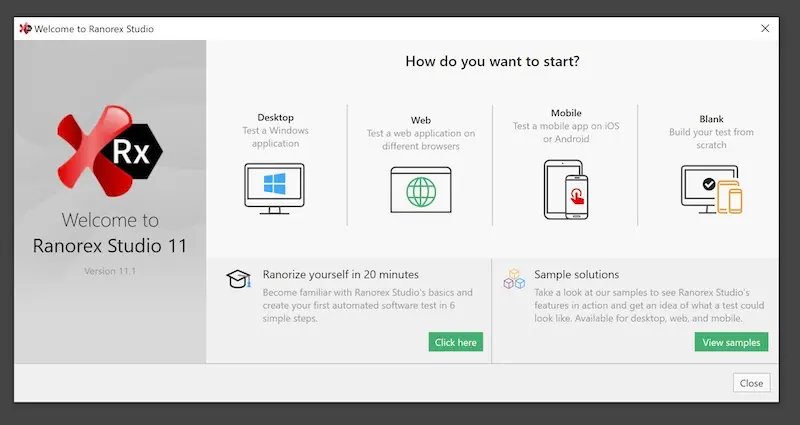
Start Ranorex Studio and click the Web tab in the wizard to create a new Web test.
-
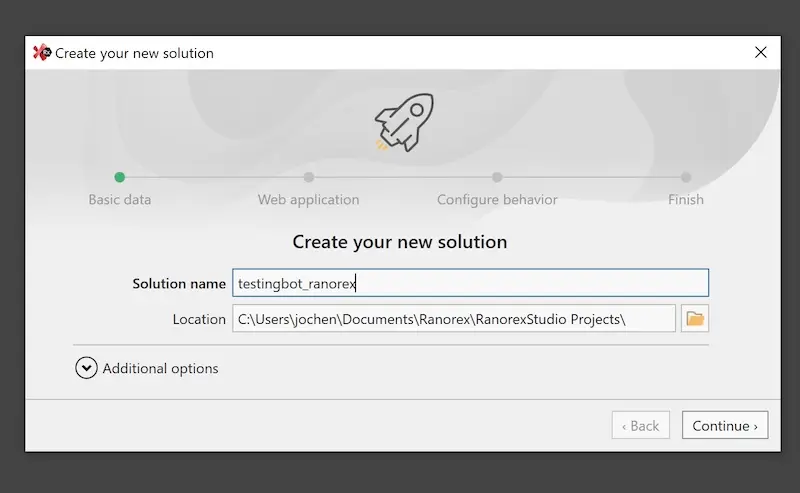
Provide the Solution name and Directory Location to store this new Project, then click Continue.
-
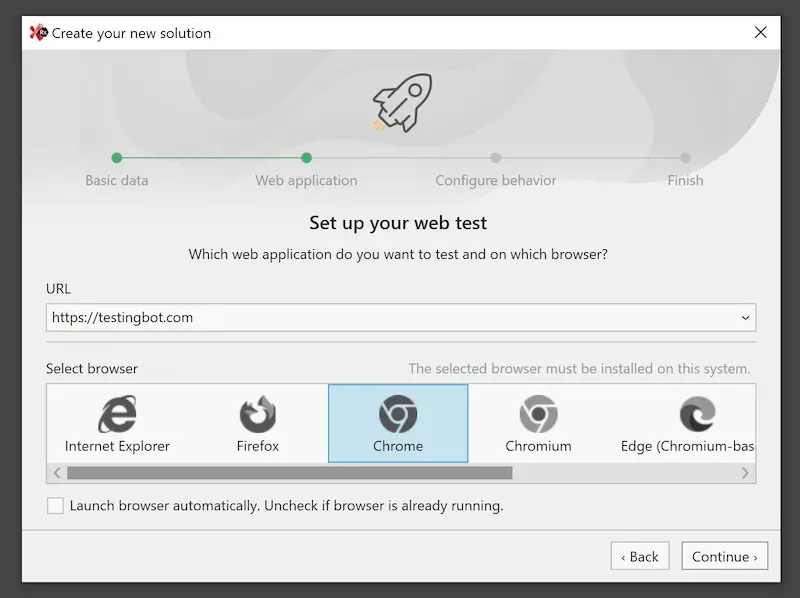
Specify the URL of the website you'd like to test and choose a browser in the next screen. Next, click Continue.
-
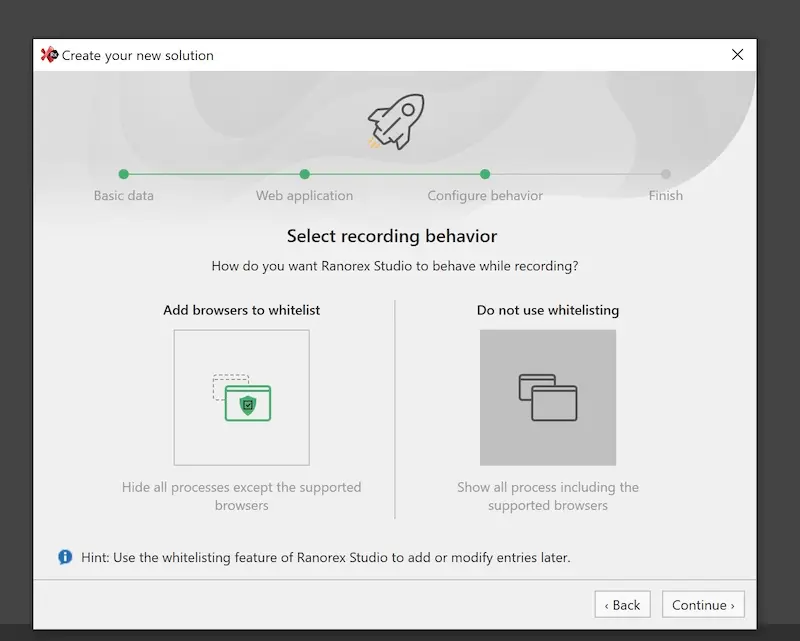
Select Do not use whitelisting as recording behavior.
-
Select Finish to complete this solution.
Setting up TestingBot Endpoint in Ranorex Studio
Before you can run a Ranorex Studio test on TestingBot, we'll first have to set up TestingBot as an endpoint. To do this, please follow the steps below.
-
To run the test on TestingBot's remote browser grid, add the TestingBot endpoint by selecting View in the menubar, then click Endpoints. Or type
Ctrl+Alt+P.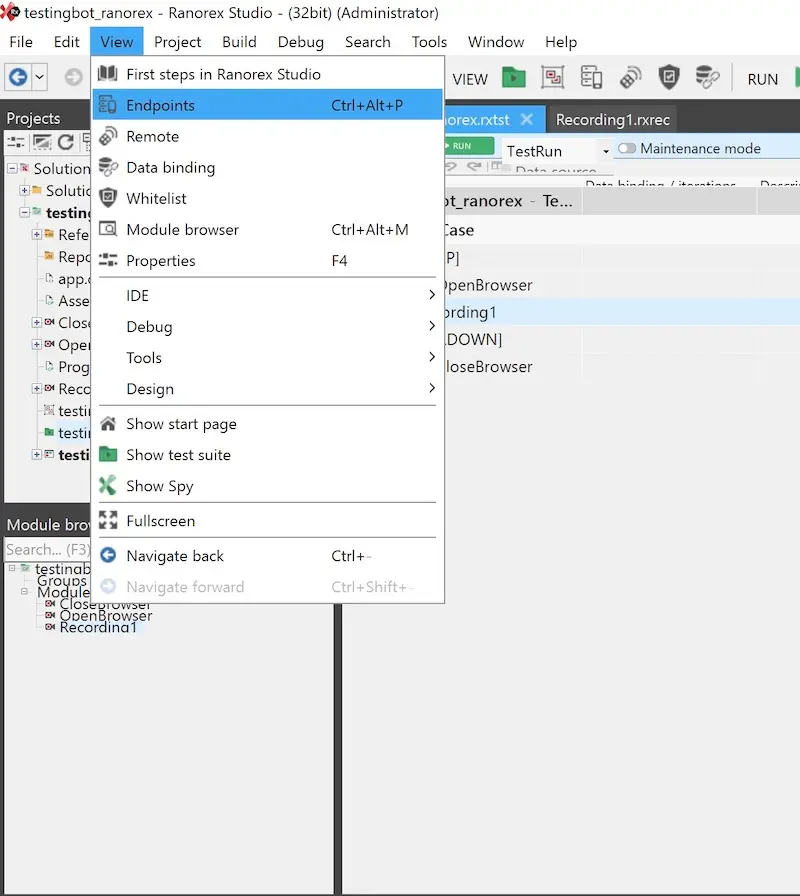
-
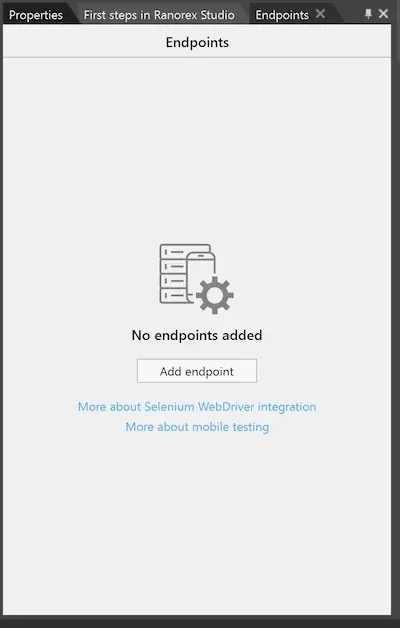
In the dialog that appears, click the Add endpoint button.
-
Select WebDriver as the Endpoint type. As the Endpoint name, you can fill in TestingBot. The address should be
https://hub.testingbot.com/wd/hub. Finally, click the Add endpoint button.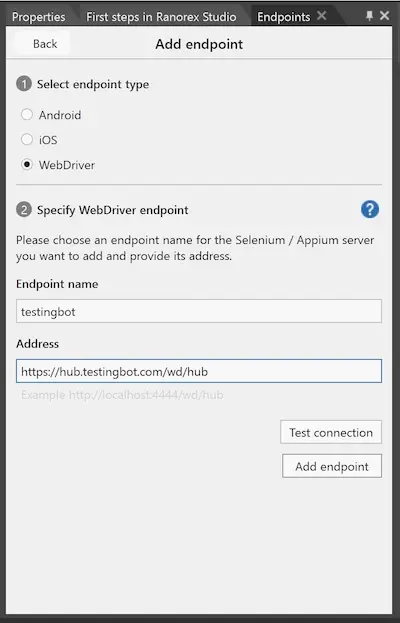
-
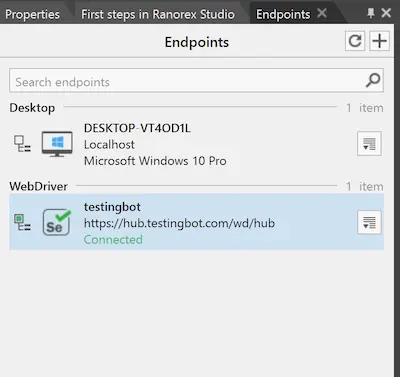
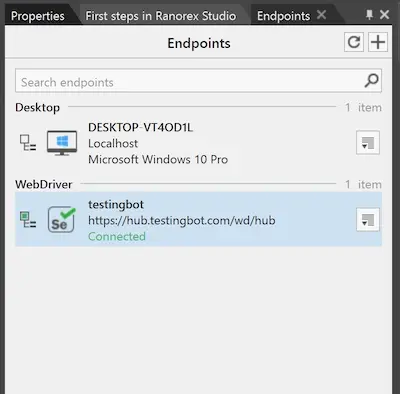
You have now successfully added TestingBot as an Endpoint. Click the icon next to TestingBot's endpoint to activate it (making it green).
Executing Ranorex tests on TestingBot
-
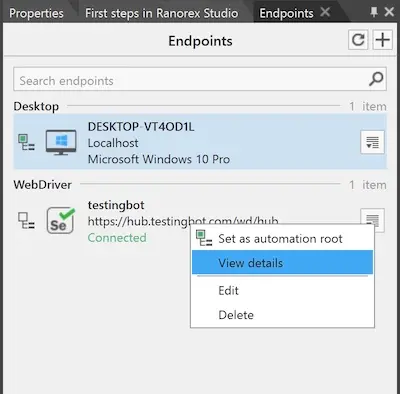
You will need to add the necessary capabilities to the Endpoint's Capabilities JSON section. To do this, right click the TestingBot connector and click View details.
-
Add the following capabilities in Capabilities JSON section and add a name in the Name field. Finally, click the Save button.
These
keyandsecretvalues are necessary to authenticate with TestingBot. You can find these in the TestingBot member area.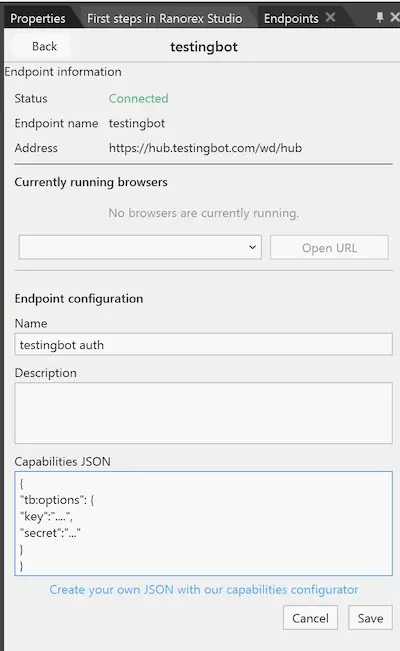
-
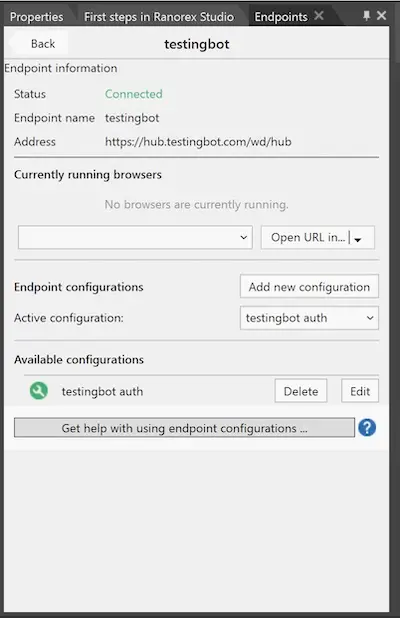
Now mark the configuration you just created as the Active configuration.
-
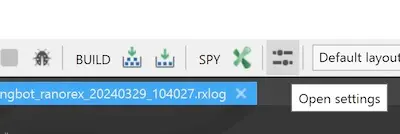
Before we can run tests, we will need to increase the default timeout value of 10 seconds. To do this, open the settings by clicking the Open Settings button.
-
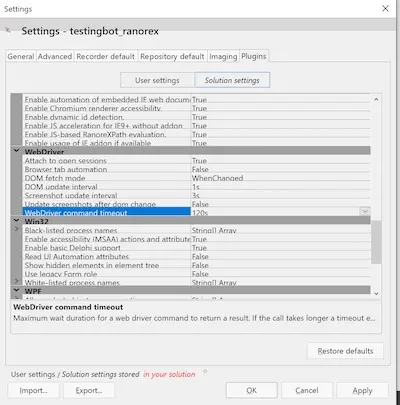
With the Settings window open, click the Plugins tab and scroll to the WebDriver section, where you will see a WebDriver command timeout value of 10.
Please increase it to at least 30 or higher, preferably 120 seconds and click Apply.
-
To run a test, make sure you've selected the TestingBot endpoint.
-
You can now run your Ranorex test on TestingBot.
Click the Run button. Once the test has finished, you will see it appear in the TestingBot dashboard with a video, logs and other metadata.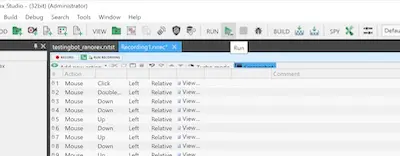
Testing privately hosted websites with Ranorex and TestingBot
TestingBot allows you to run automated tests on internal development environments such as staging URLs or localhost.
To get started, please make sure you've downloaded TestingBot Tunnel. You can start the tunnel through the commandline:
Next, you will need to edit the Capabilities JSON configuration in the custom TestingBot endpoint you've created and add a tunnelIdentifier in the tb:options JSON object.
Passing custom capabilities with Ranorex Studio
TestingBot provides various custom capabilities to configure test runs, such as changing the browserName, version, platform and more.
To include these with your test, make sure to edit the Capabilities JSON configuration in the custom TestingBot endpoint you've created.