
By Jochen D.
Chrome allows to specify a fake Webcam and Microphone which can be used during automated tests with Selenium, Puppeteer, Playwright or Cypress.
Faking a Webcam with Chrome
During automated or manual testing, you might want to simulate a webcam input in Google Chrome. This can be particularly useful for testing functionality that requires a webcam.
Google Chrome provides a handy command-line flag --use-file-for-fake-video-capture that allows you to use a video file as a fake webcam input.
When your browser navigates to a website that wants to use your Webcam, the website will be tricked into thinking that the video file specified with the flag is a webcam feed.
Y4M file
Chrome allows you to specify a .y4m file, which is a raw video file that can be created with ffmpeg from any existing video file, such as a MP4 file:
ffmpeg -i video.mp4 -pix_fmt yuv420p selfie.y4mBecause this is a raw video file, the file size might get very large. A different approach is to use a mjpeg video file, which is smaller in filesize.
MJPEG video file
--use-file-for-fake-video-capture also accepts a path to a .mjpeg file, which you can create with ffmpeg or another video encoder.
ffmpeg -i video.mp4 selfie.mjpegMake sure to only embed the video track in the mjpeg file, you can check with ffmpeg that only the videotrack is included, or use ImageMagick's identify
ffmpeg -i selfie.mjpegidentify selfie.mjpegIdentify should show a JPEG type for this file.
Fake device for Media Stream
During automated testing, you might want to automatically allow a website to access your camera and microphone. This can be achieved by specifying the --use-fake-ui-for-media-stream commandline flag.
Faking a Microphone with Chrome
Similar to faking a webcam we can also inject a dummy audio file and make any website or app believe it is a microphone feed.
Google Chrome provides a command-line flag --use-file-for-fake-audio-capture which allows you to pass it a file path to an audio file.
This audio file will be played when a website listens to your microphone feed. This can be very useful when testing multimedia websites or apps that require input from a user by voice.
During the test, when the website under test listens to your microphone, it will receive the audio file feed. You can have a pre-recorded .wav audio file, Chrome will inject this as a fake microphone input and make the website believe it's from a real microphone.
WAV file
The audio file that needs to be supplied needs to be a WAV file with 4.1 kHz stereo 16 bit.
If you have an existing video with audio, you can simply extract this into a separate wav audio file:
ffmpeg -i video.mp4 selfie.wavRunning automated tests with fake camera and microphone input
Now that we know how to fake a webcam feed and a microphone feed, we can combine this in one automated Selenium test and run this on the TestingBot browser grid.
In the following example, we will combine this into one test. At the start of the test, we specify a uploadMultiple TestingBot capability that uploads multiple files (a video and audio file) to the remote machine.
Make sure you upload the video/audio file to a publicly available URL and that that the
content-typeis correctly set (image/jpegoraudio/wav).
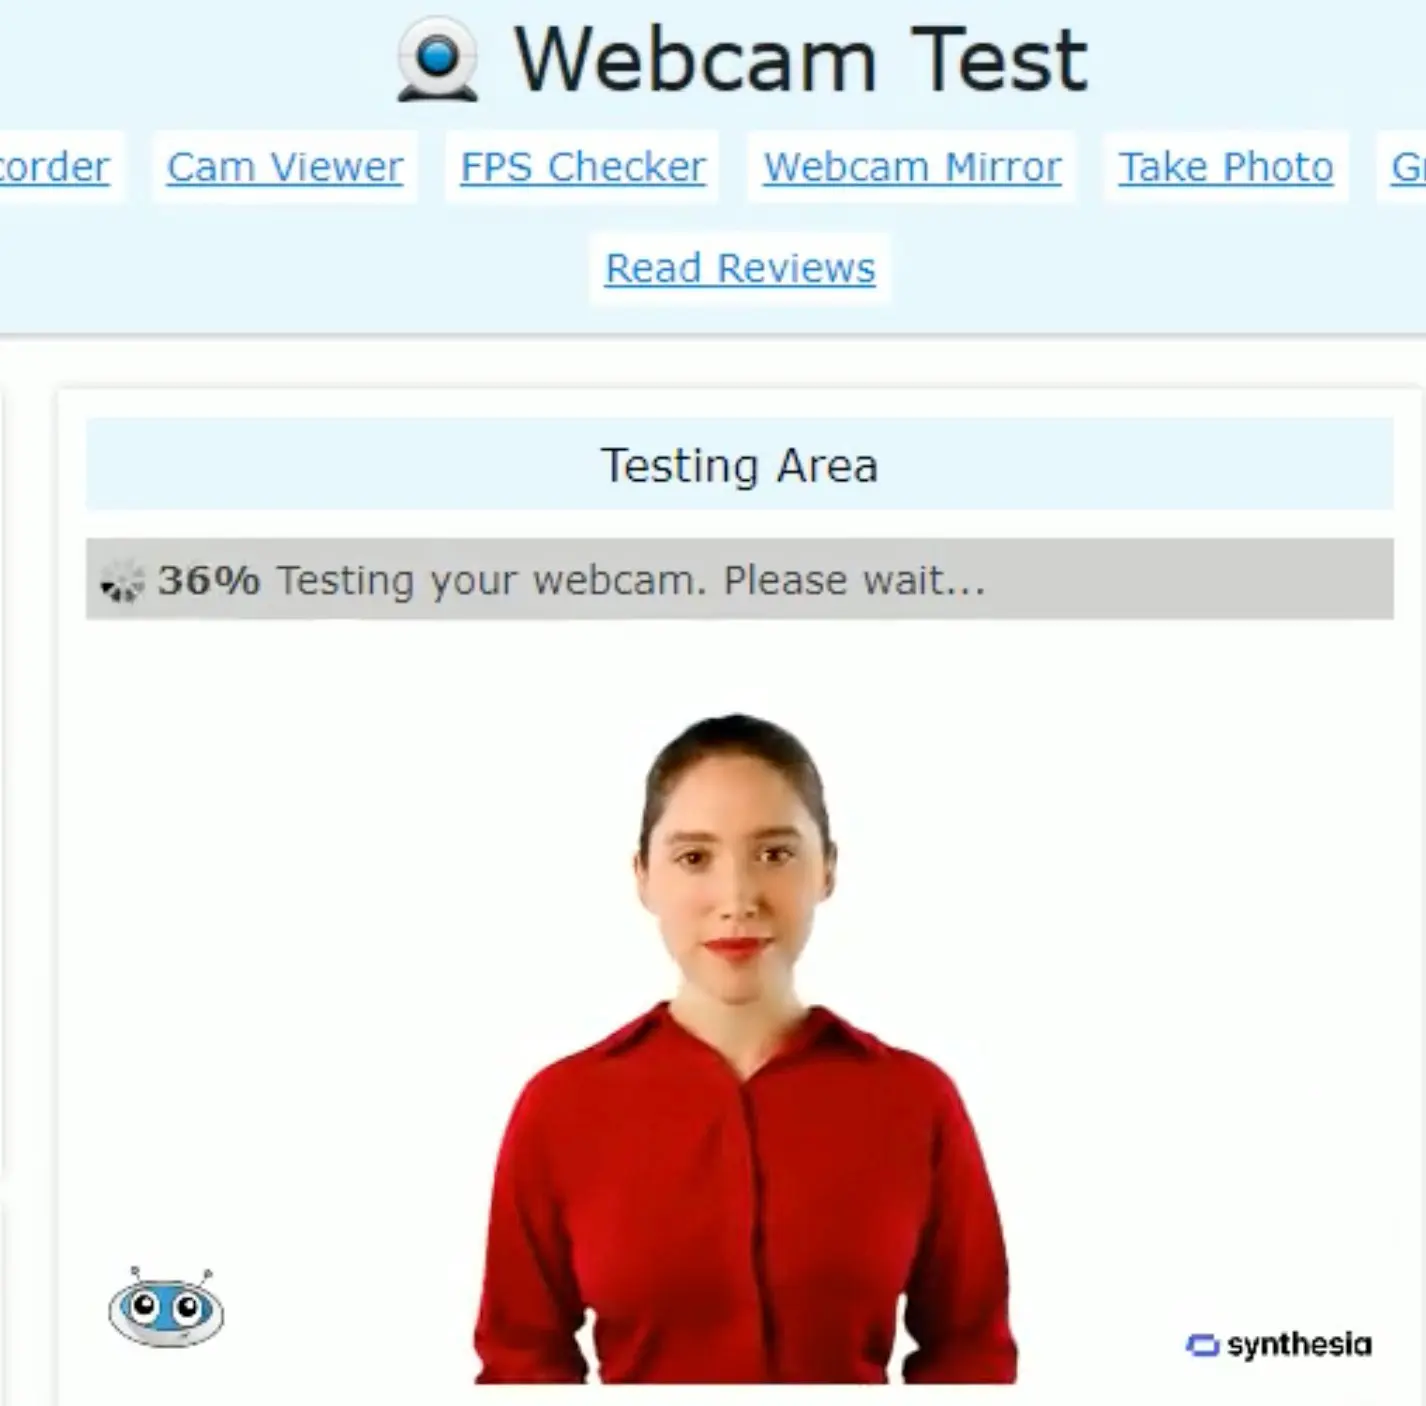
The browser will use both files as fake input. We will then navigate to a website that tests whether your webcam works. The website will be tricked into thinking the webcam feed is showing the injected video file.
require "rubygems"
require "selenium-webdriver"

tb_options = {
  "name" => "My Webcam Test",
  "browserName" => "chrome",
  "platform" => "WIN10",
  "version" => "latest",
  "uploadMultiple" => [
    { url: 'https://pub-0c7a5d7f43dc46d69f0b2ff9aa6c7c91.r2.dev/selfie.mjpeg', filePath: 'C:\\test\\selfie.mjpeg' },
    { url: 'https://pub-0c7a5d7f43dc46d69f0b2ff9aa6c7c91.r2.dev/selfie.wav', filePath: 'C:\\test\\selfie.wav' }
  ]
}


options = Selenium::WebDriver::Chrome::Options.new
options.add_argument('--use-fake-device-for-media-stream')
options.add_argument('--use-fake-ui-for-media-stream')
options.add_argument('--use-file-for-fake-video-capture=C:\\test\\selfie.mjpeg')
options.add_argument('--use-file-for-fake-audio-capture=C:\\test\\selfie.wav')
options.add_option('tb:options', tb_options)

driver = Selenium::WebDriver.for(
  :remote,
  :url => "https://key:secret@hub.testingbot.com/wd/hub",
  :capabilities => options)
driver.navigate.to "https://webcamtests.com/"

wait = Selenium::WebDriver::Wait.new(timeout: 10)
consent_button = wait.until {
  element = driver.find_element(css: '.fc-cta-consent')
  element if element.displayed?
}
consent_button.click

sleep 5

webcam_allow_button = wait.until {
  element = driver.find_element(:id, 'webcam-launcher')
  element if element.displayed? && element.enabled?
}
webcam_allow_button.click

sleep 10
driver.quit