Setting up SSO in Okta
TestingBot has created a SAML app in Okta which you can install to easily enable SSO with Okta and TestingBot.
-
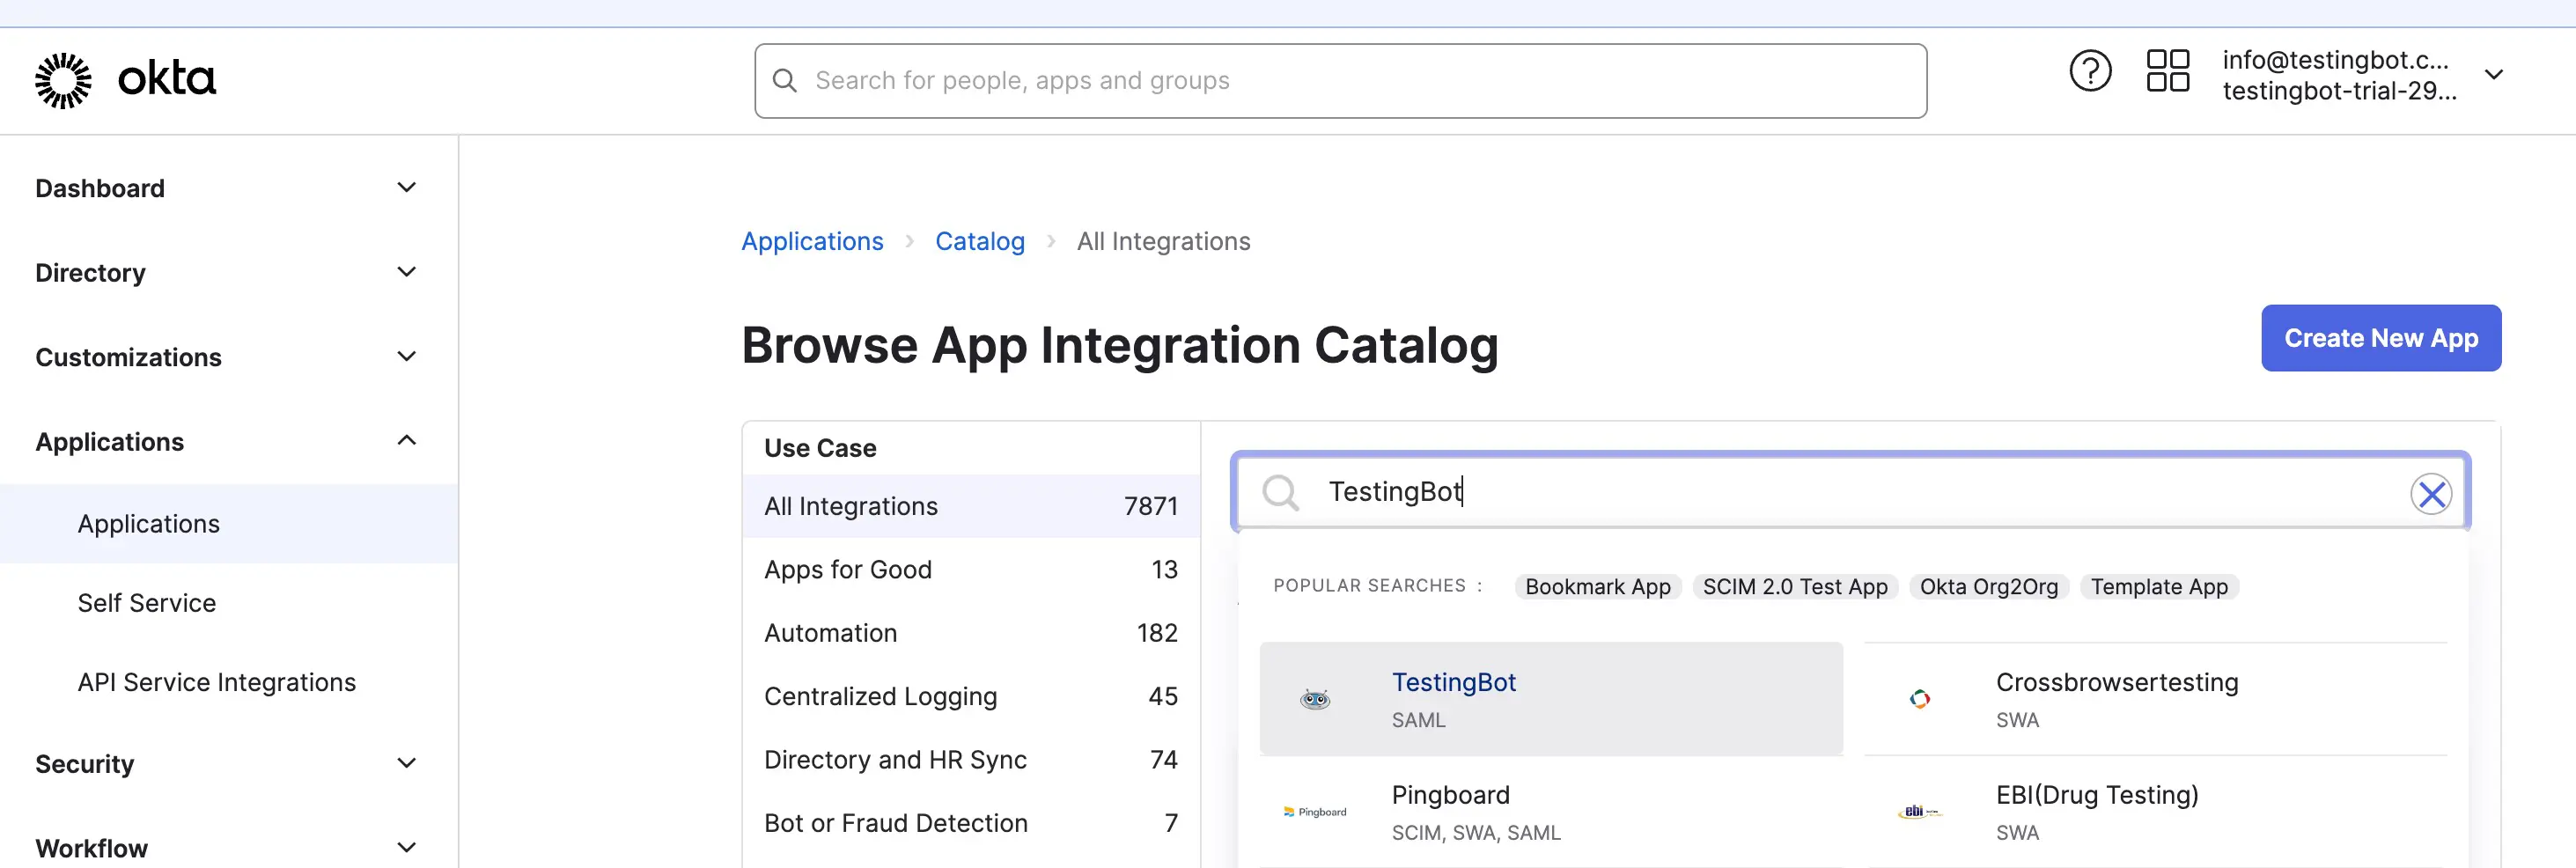
Log in to the Okta administrator panel, go to Applications and search for TestingBot in the Browse App Integration Catalog.
-
Click the TestingBot app to go to the detail page. Click the Add Integration button to add the TestingBot app.

-
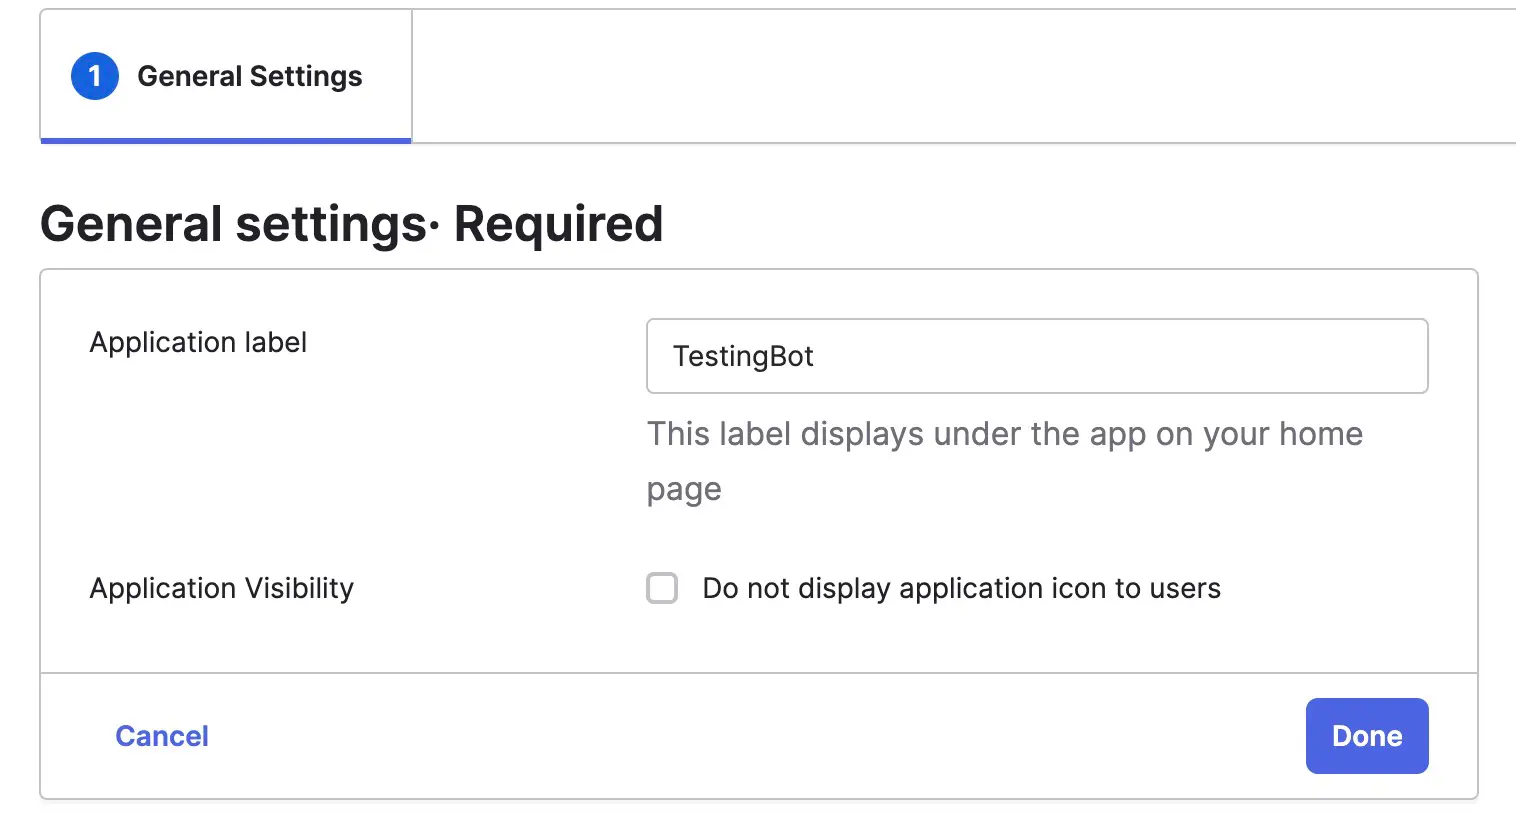
Change the name of the application to your liking, or leave it as TestingBot, then click Done.
-
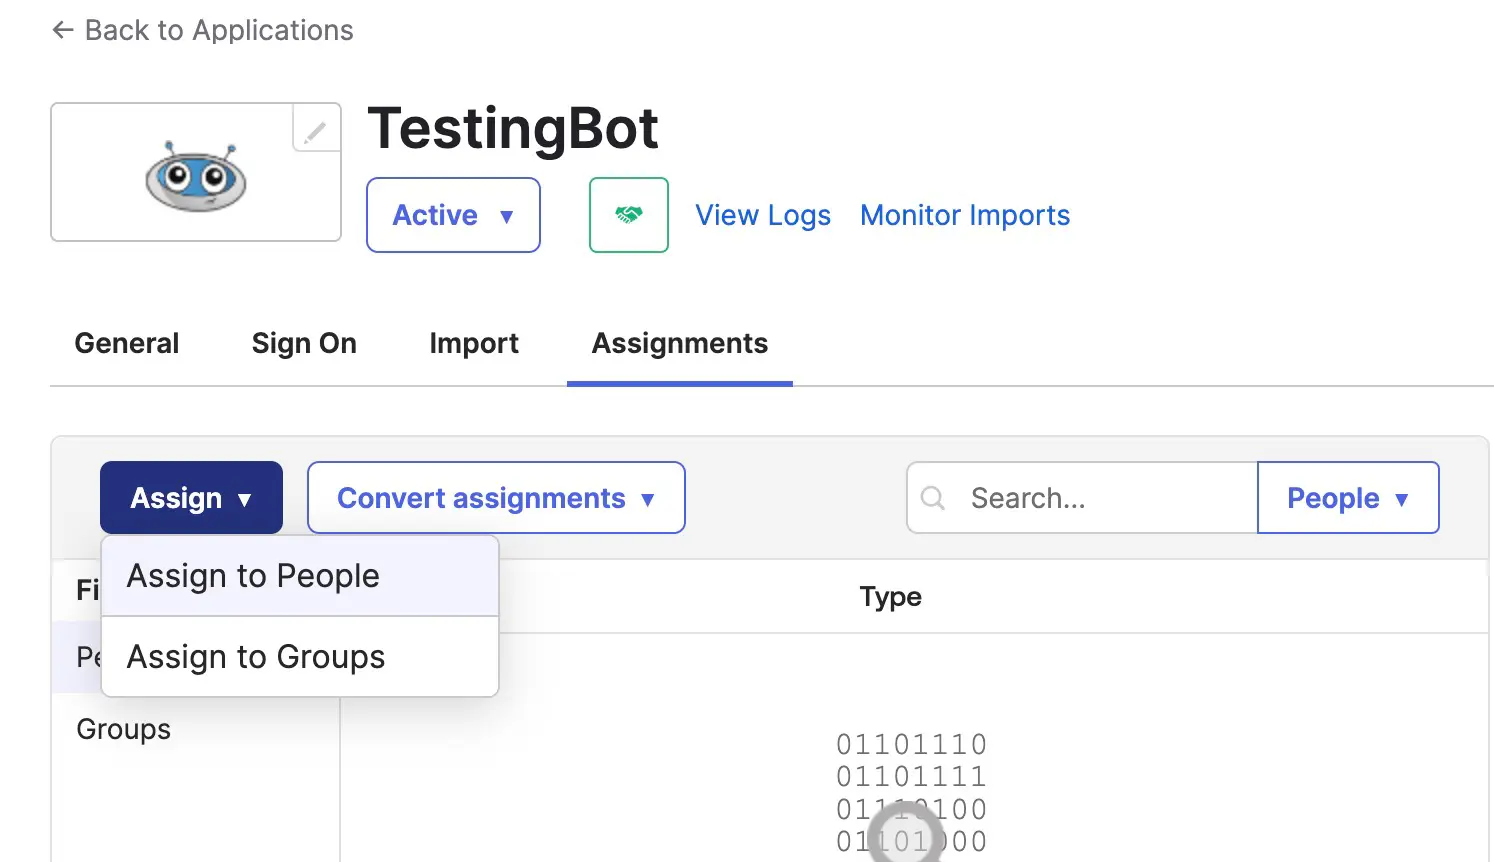
You can now assign one or more users or groups to use the TestingBot application.
-
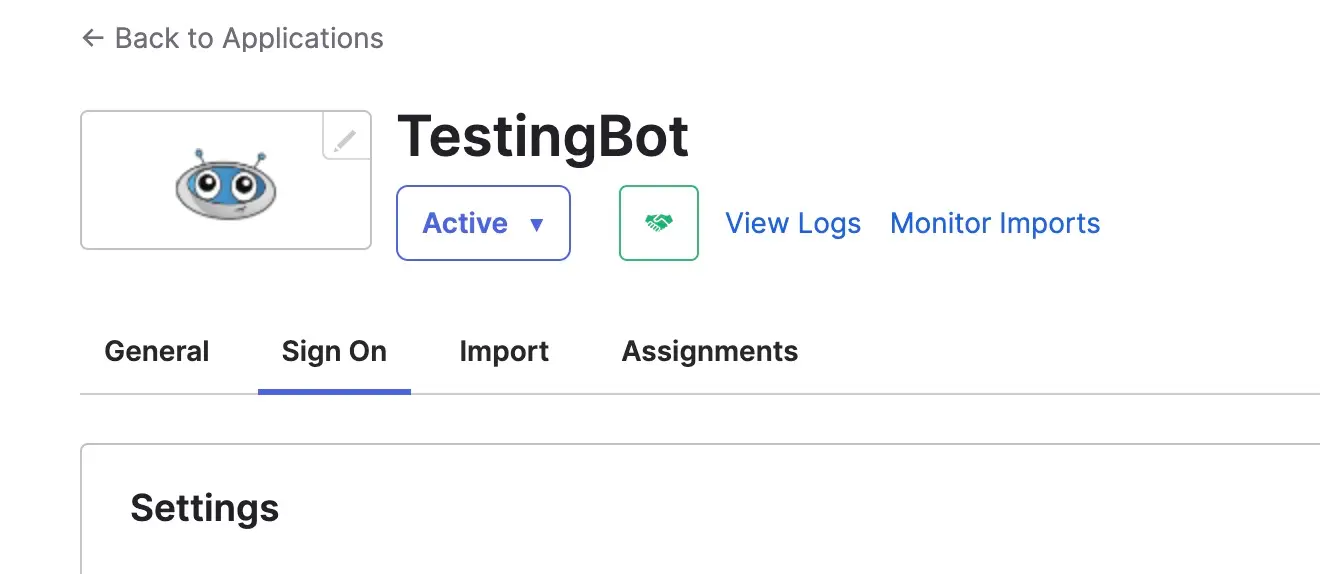
Click the Sign On tab.
-
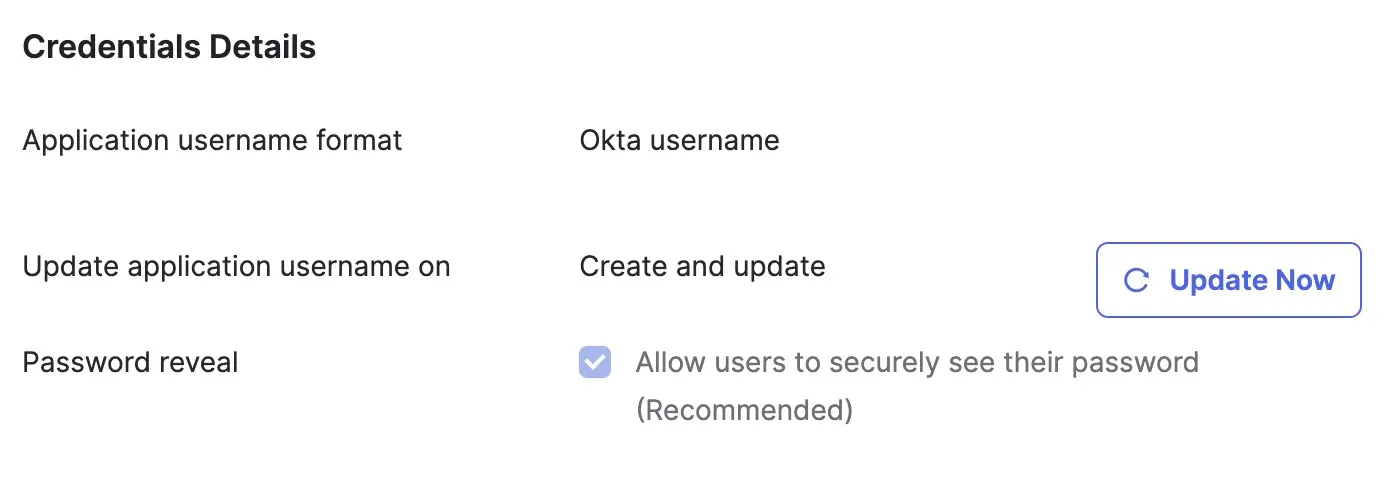
In the Credentials Details section, make sure that the value for Application username format is a valid email address. The default format for Okta username is an email address, unless it has been changed in the Okta Admin Console.
-
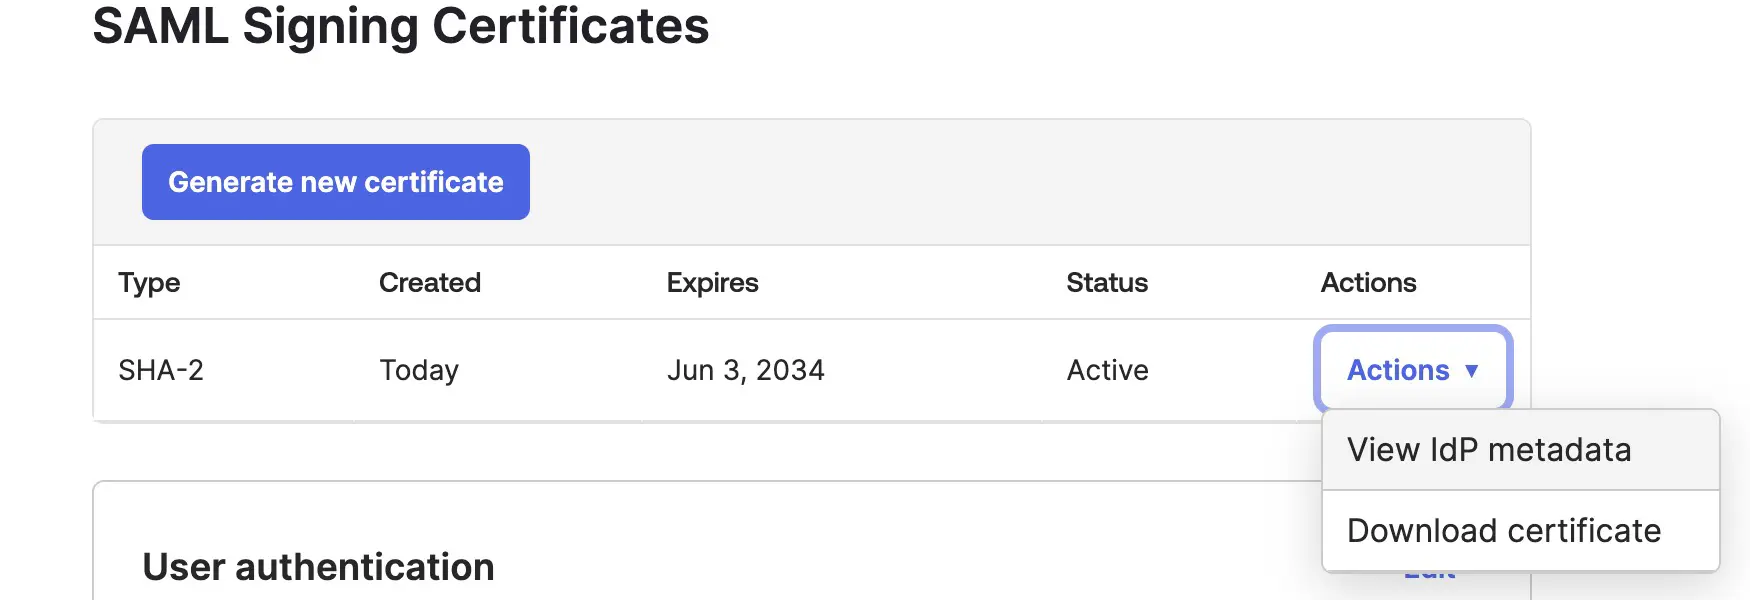
In the SAML Signing Certificates section, click Actions, and then View IdP metadata. Please send the metadata to TestingBot.