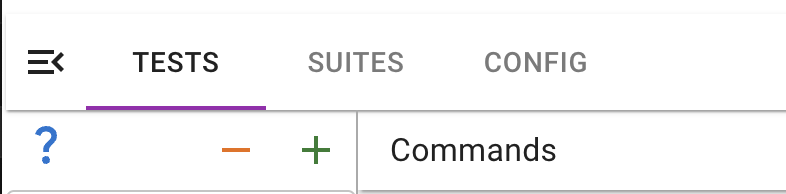
Add Codeless Automation test
TestingBot can create and run automated web tests against your website on regular intervals and alert you when a test fails.
There are 2 options to create a codeless web automation test:
Record your actions

Installing Selenium IDE
To get started, please make sure to download the Selenium IDE.
This is an Electron app that will run on Windows and macOS and will allow you to record and playback actions on a website and allow you to save these actions as Selenium scripts (.side files).
You can also install the package through NPM: npm install -g selenium-ide
Recording a test
Creating a test
Once you have the Selenium IDE program running, you can create a new testcase by clicking the plus icon (+). Enter a name for your test. Next, open the URL you want to test in the right side of the Selenium IDE. Once the page is loaded, interact with the page. You will see new commands are added to the left sidebar, which means the IDE is recording all your actions.
Adding verifications
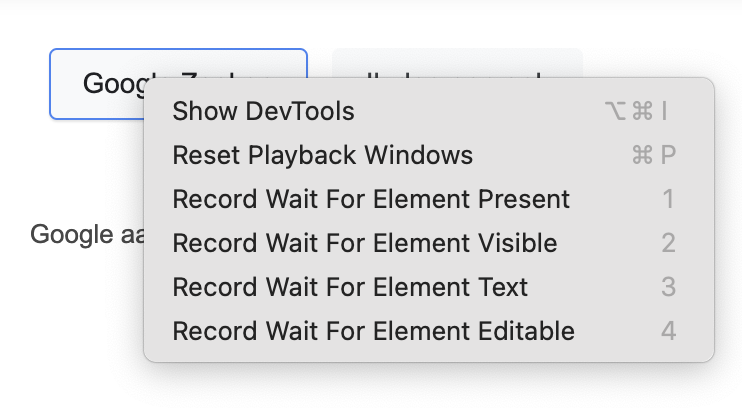
For example, if you tap an element on the webpage, you will see a new Click command appear.
At any given point, you can right-click an element on the page you are testing and add a verification, for example: Record Wait For Element Present.
Saving test
Once you've finished recording your test, you can choose to save it as a .side file, which is basically a JSON file that describes all the actions and verifications you added during the recording.
Choose Save Project As and save the file.
You can now upload this file to TestingBot and instruct TestingBot to run this test on a scheduled interval, running on the browsers & operating systems you want.
Upload a codeless test
Once you have a .side file, you can upload it in the Codeless Test area of TestingBot.
Click the upload button in the Import a Selenium Test section and upload the file.
Once uploaded, you will be redirected to a test configuration page. Here you can configure various options:
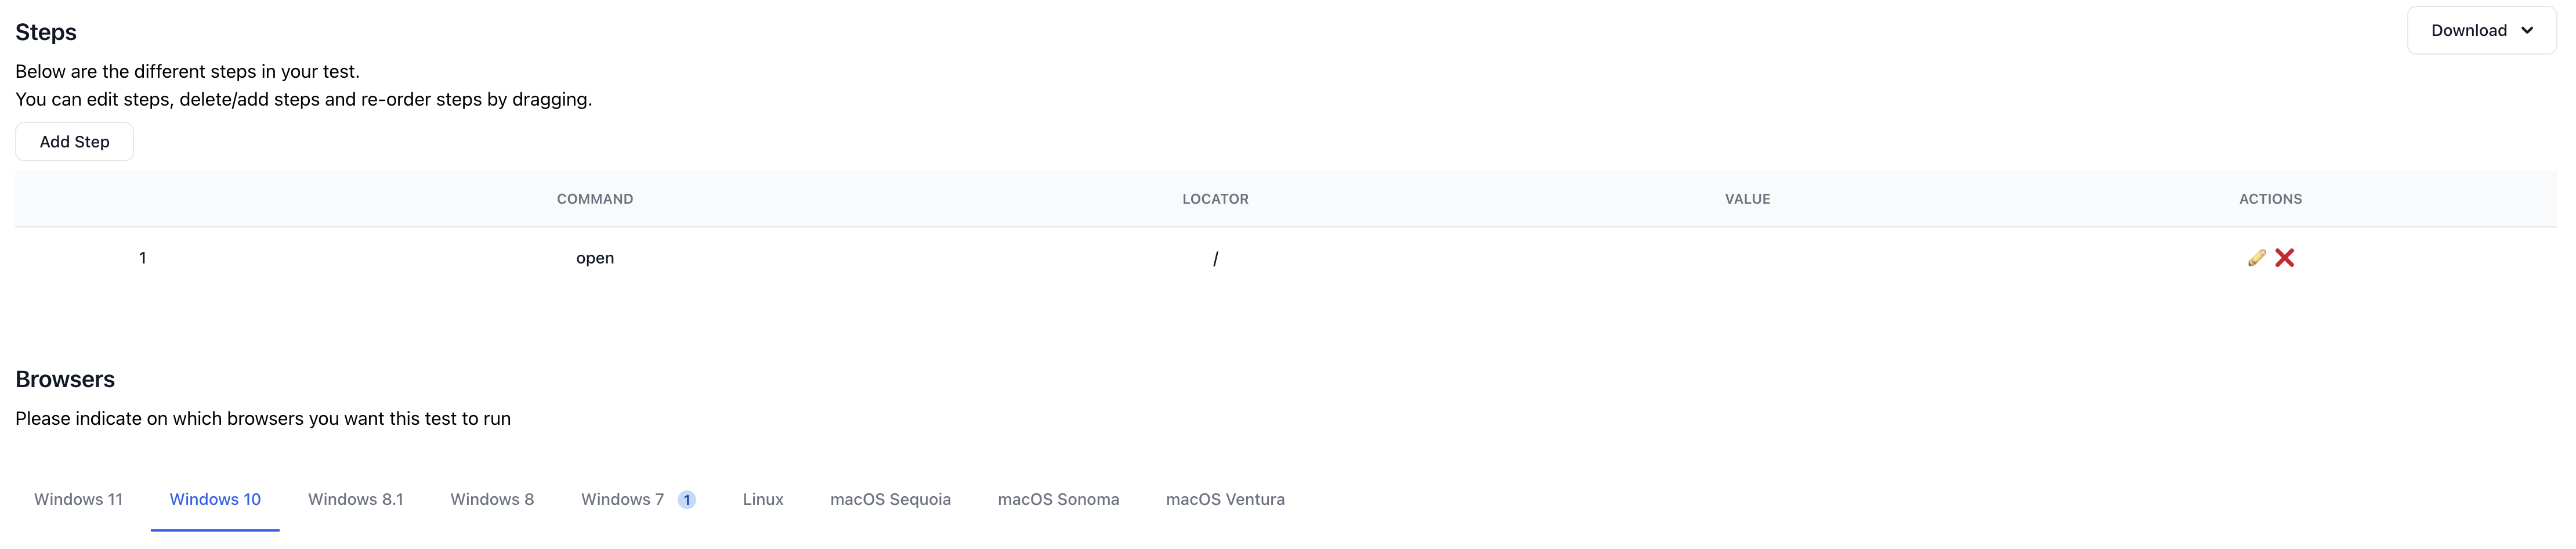
Steps
We will display the same steps that were recorded before. You have the option to re-order the steps, edit steps or remove steps.
Browsers
A selection of browsers & operating systems will be available to choose from. Select one or more browsers that you want to run your test on.
Settings
You can configure various settings for your test:
Run Test
Now that the test has been added to TestingBot, you can choose to run it immediately.
Click the Run test button on the top right of the edit test page, or from within the test overview page.
TestingBot will run the test on the browser(s) you specified and alert you when a test failed.
Each test comes with screenshots, a video and generated log files.
API Reference
You can use the TestingBot API to add, edit, remove and run Codeless Automation tests.
Use our integrations to improve your workflow. For example, configure a Slack Bot to notify you when a codeless automation test failed.